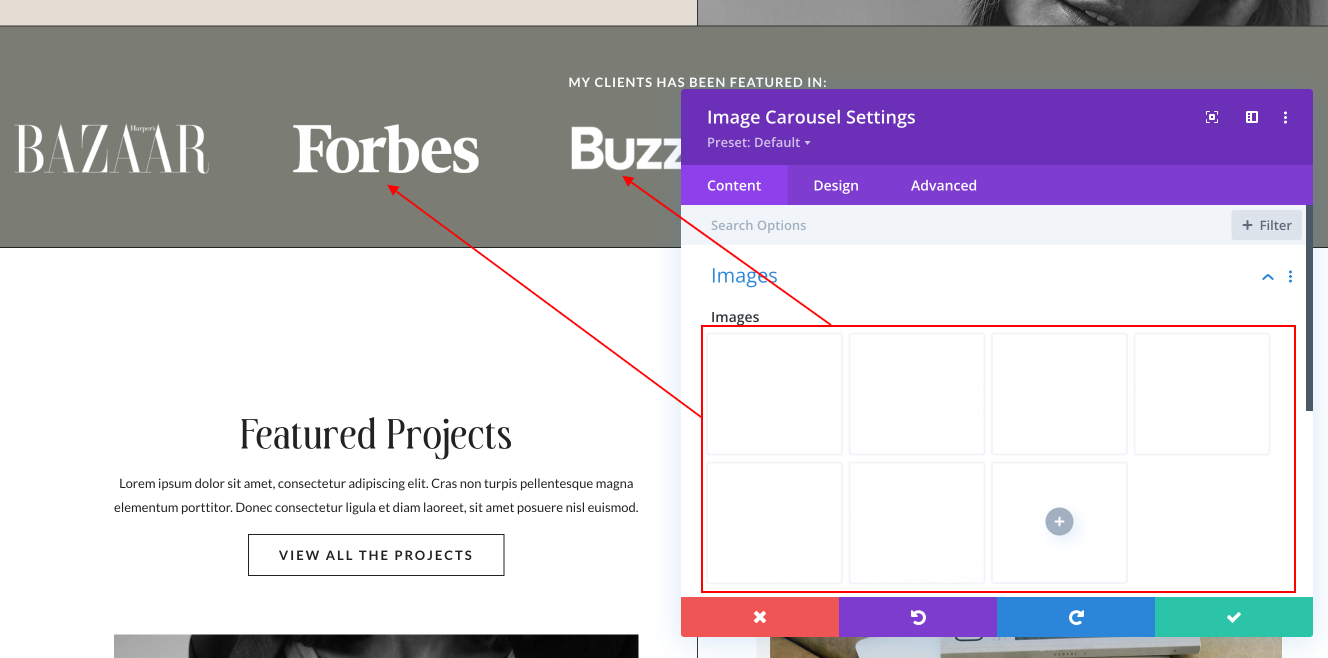
Recommended image size :1000 x 1000 px (For best results upload images in the same size)

Slider carousel ( to show projects and logos ) runs with Image Carousel Module For Divi plugin preinstalled.
If you haven’t installed it yet, you have to install it.
The first step is to install the plugin on your website. If you are new to WordPress and aren’t sure how to install a plugin then please check How to install a WordPress Plugin article.
Selecting Images for the Carousel
- Click on Enable Visual Builder in the top bar.
- Go to Module Settings > Content > Images.The Add Gallery Images button will open the WordPress Media Library. You can choose images already uploaded to the media library or upload new images here.
In this tutorial I show you how to change image sizes: https://bit.ly/3zjZzVZ
Changing Number of Slides
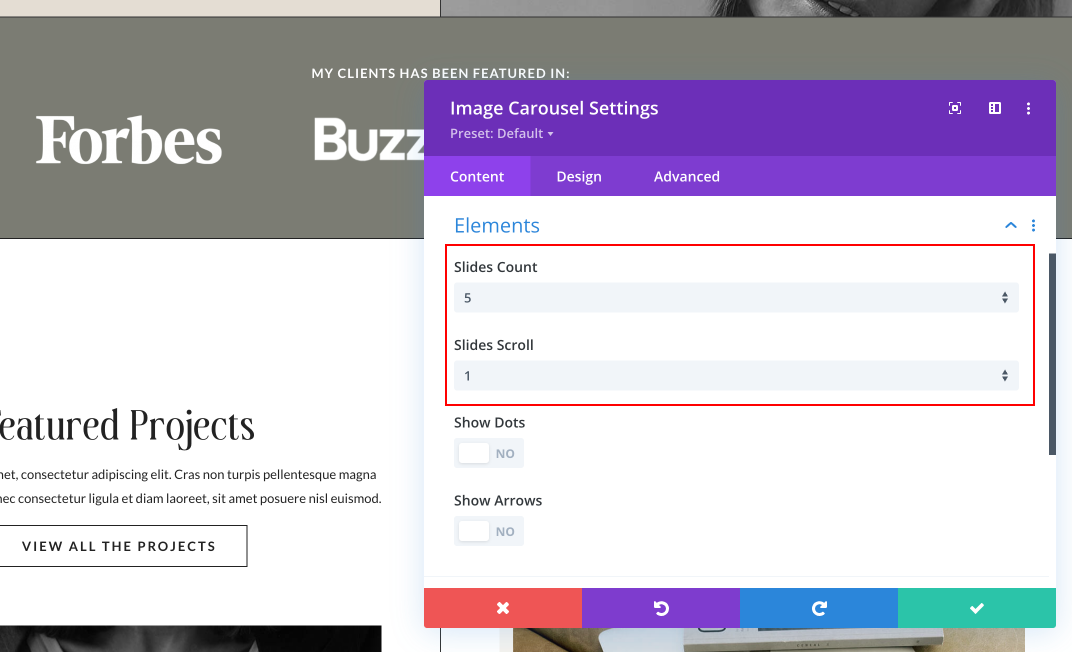
You can change the number of images in the carousel under Module Settings > Content > Elements > Slide Count.
You can change the number of slides that scroll when you press the Arrow icon or on Autoplay by changing the Slides Scroll setting. It is at Module Settings > Content > Elements > Slides Scroll
By default it is is set to 1. Meaning it will move one slide forward or backward depending on the arrow icon clicked. Changing it to 2 will move the carousel 2 slides.
Choose the layout
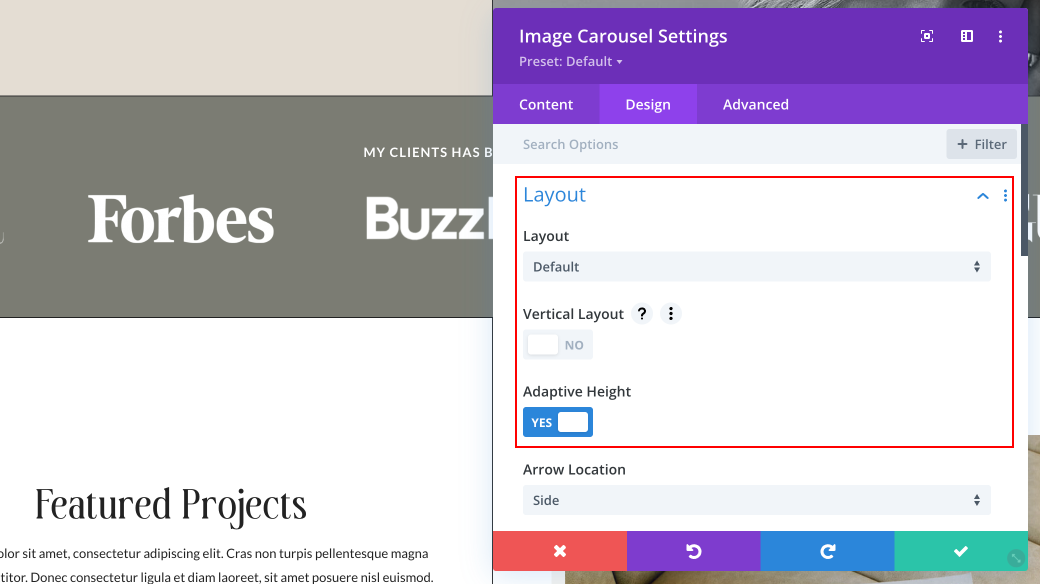
You can change layout (Default, Center Mode or Synced Slider).
Center Mode is a centered slick carousel , that has the active slider scaled.
Carousel Animation
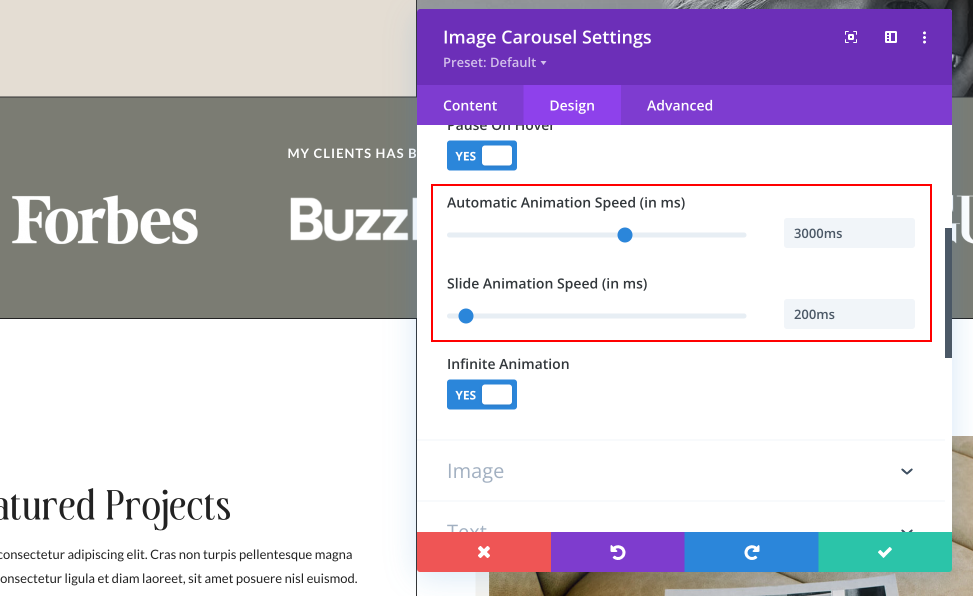
Infinite Animation setting is at Module Settings > Design > Carousel Animation.
Setting Infinite Animation to Yes will loop the carousel infinitely or desactivate autoplay.
When the carousel reaches the last image it will start from the first image again. When Infinite Animation is disabled the carousel will stop at the last image.
Need Further Tutorials?
The Divi Button Module: https://bit.ly/2UN7GZc