
- Log into WordPress
- Click on Enable Visual Builder in the top bar.
Step 1: Change Row Background.
I have created some mockups in Canva to complement the template whose background is included for free and that you can download here : https://bit.ly/3v6WMjC
Step 2: Setting up an Email Account
To use Divi to set up your email account, first, open your email optin module and click the Service Provider dropdown box to see your options.
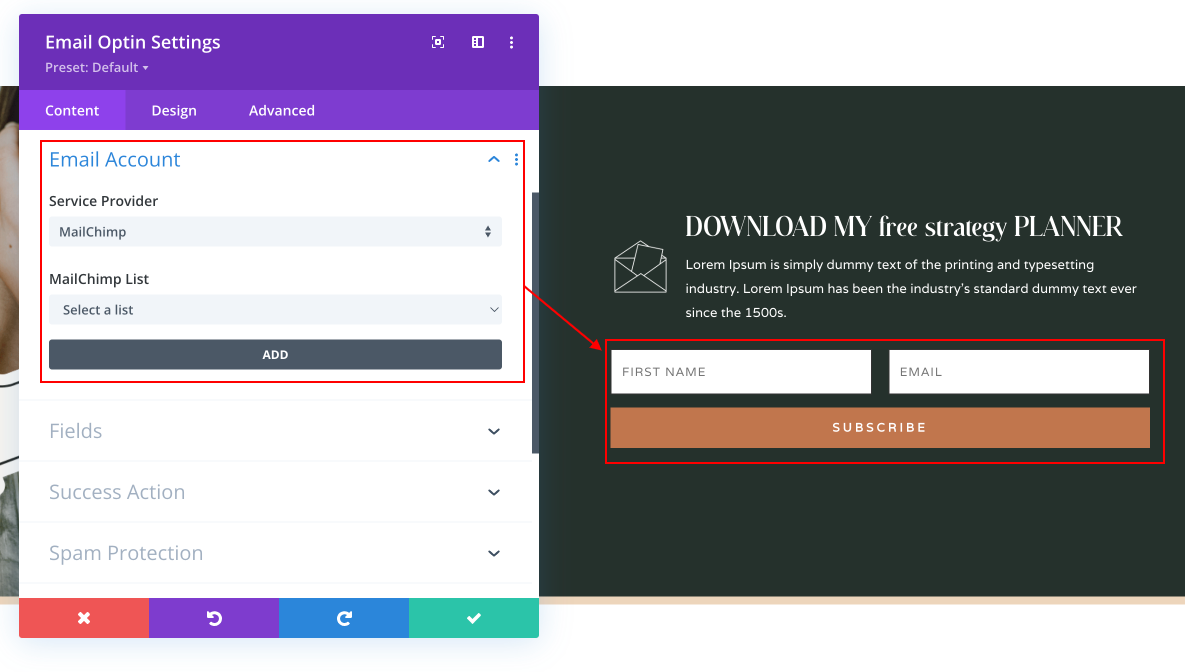
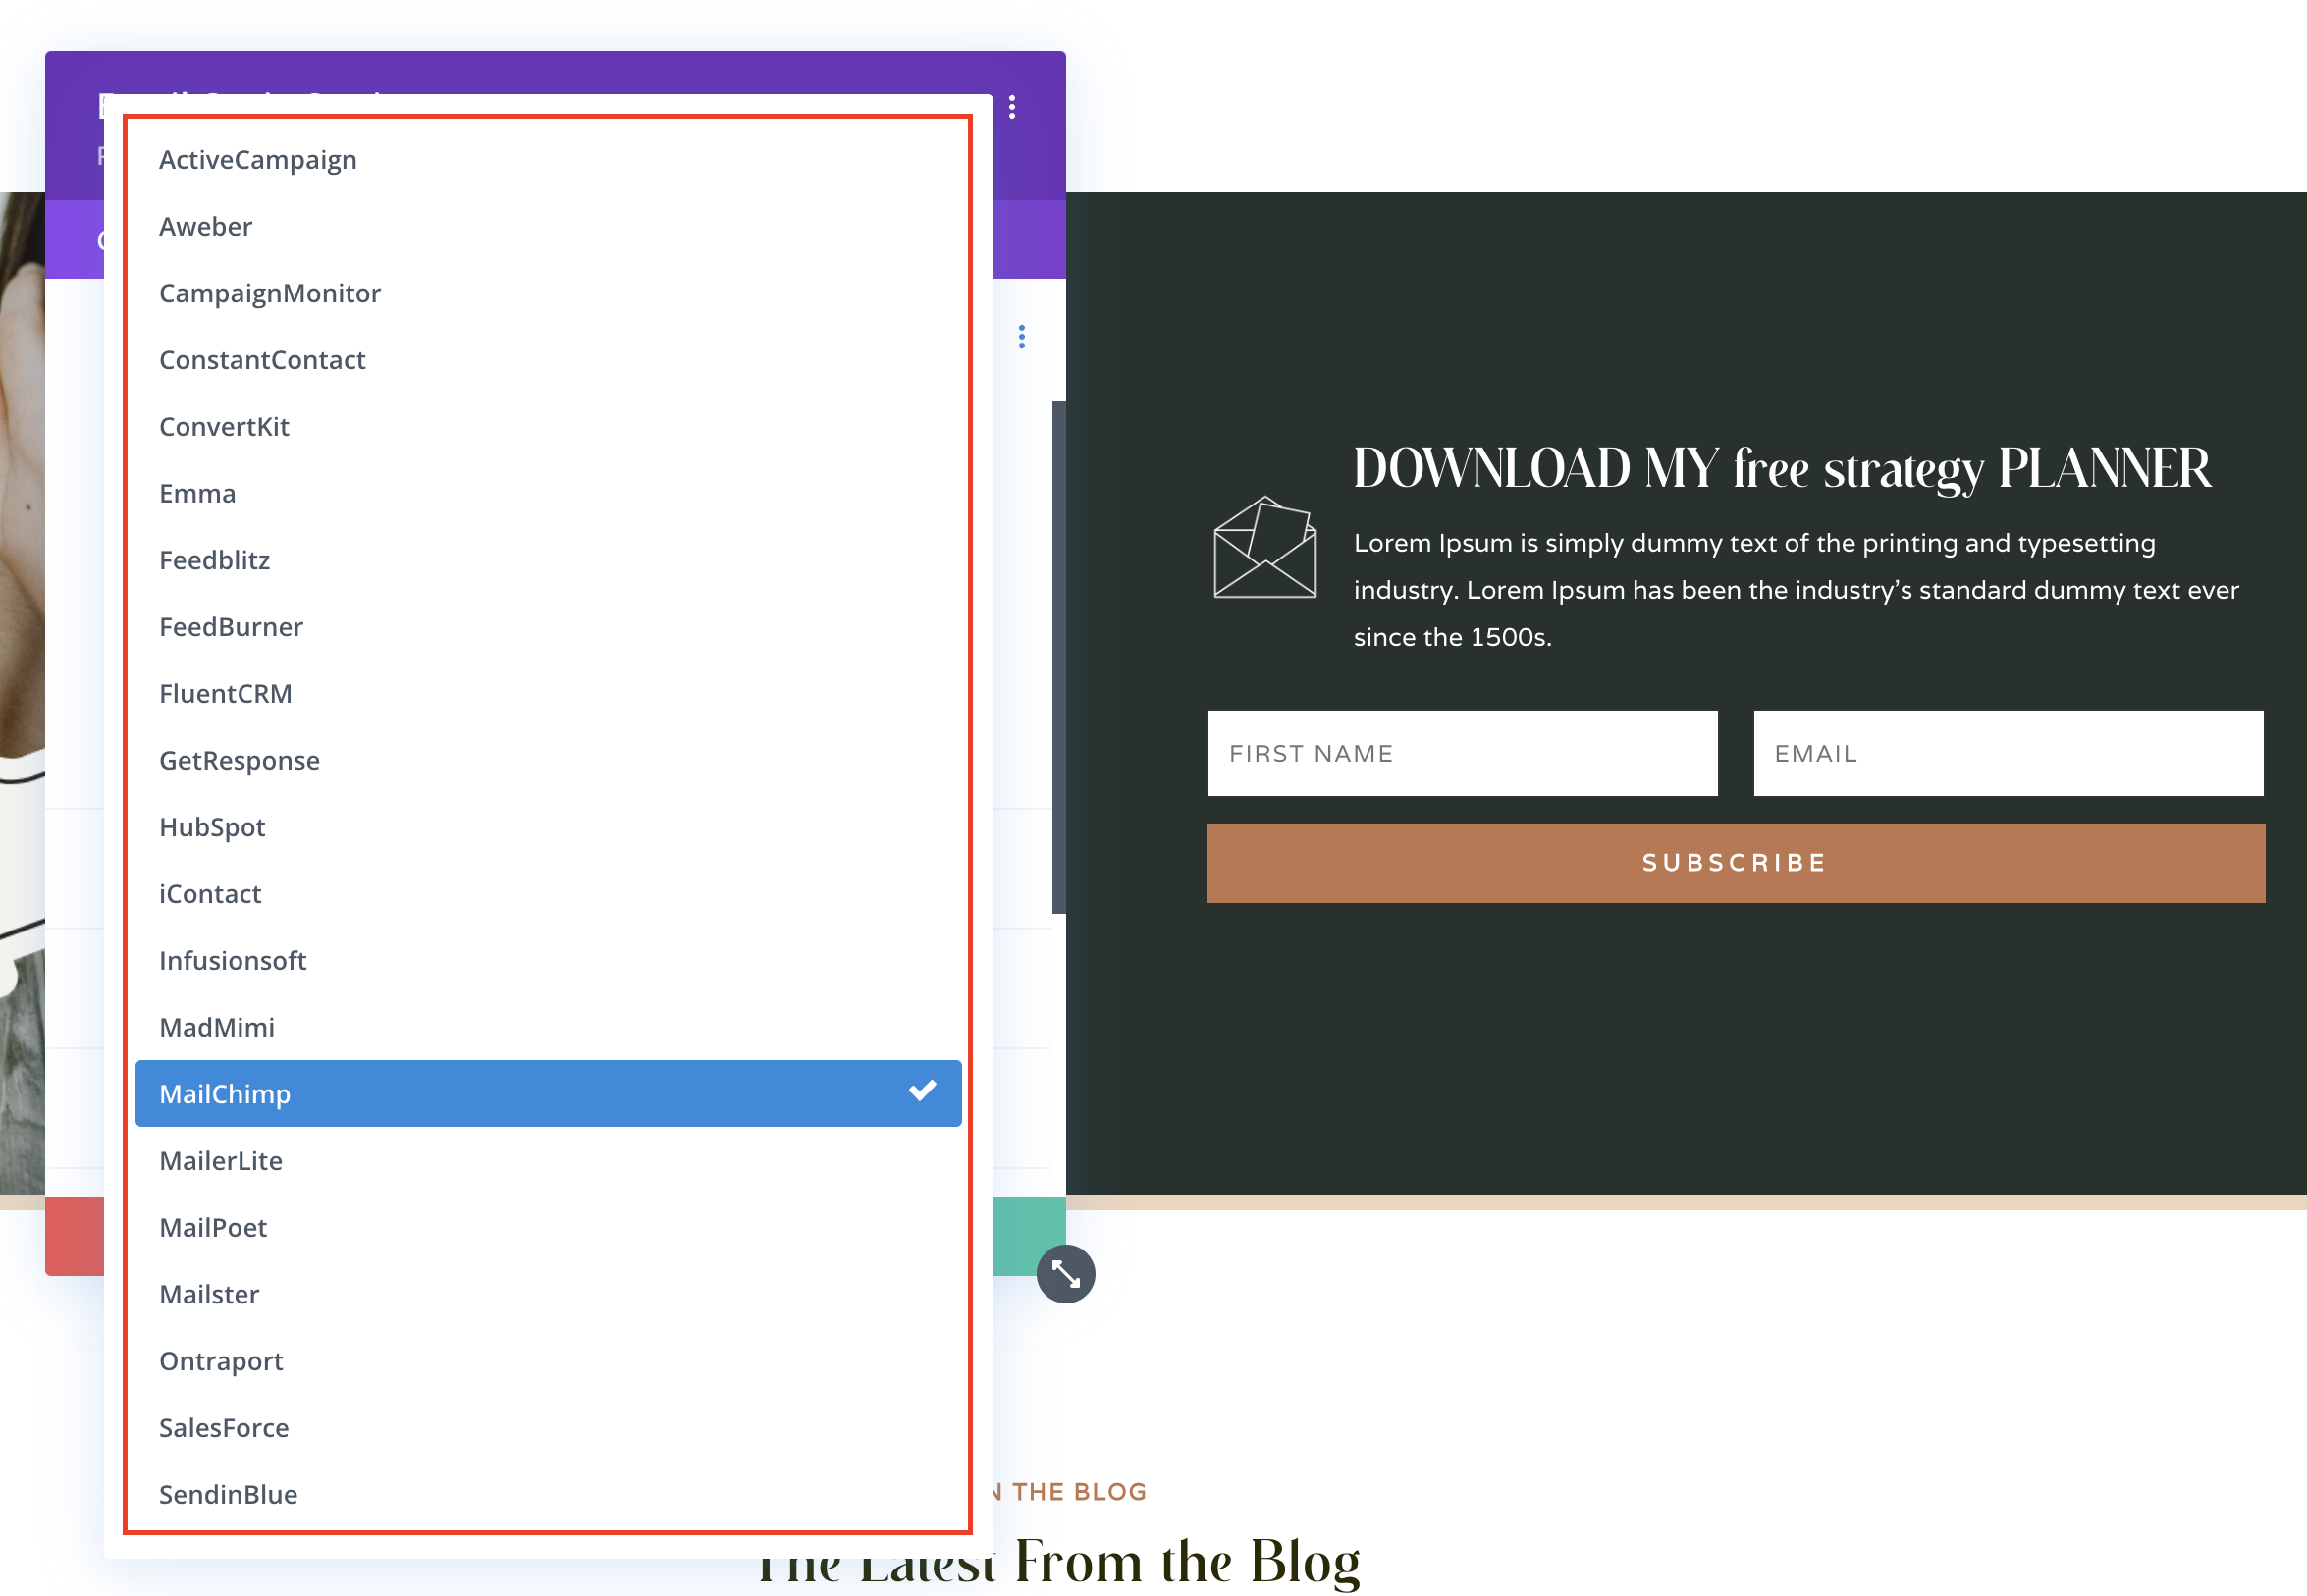
This gives you a list of 21 email service providers to choose from. Next, select the email provider you want to use from the Service Provider dropdown box.
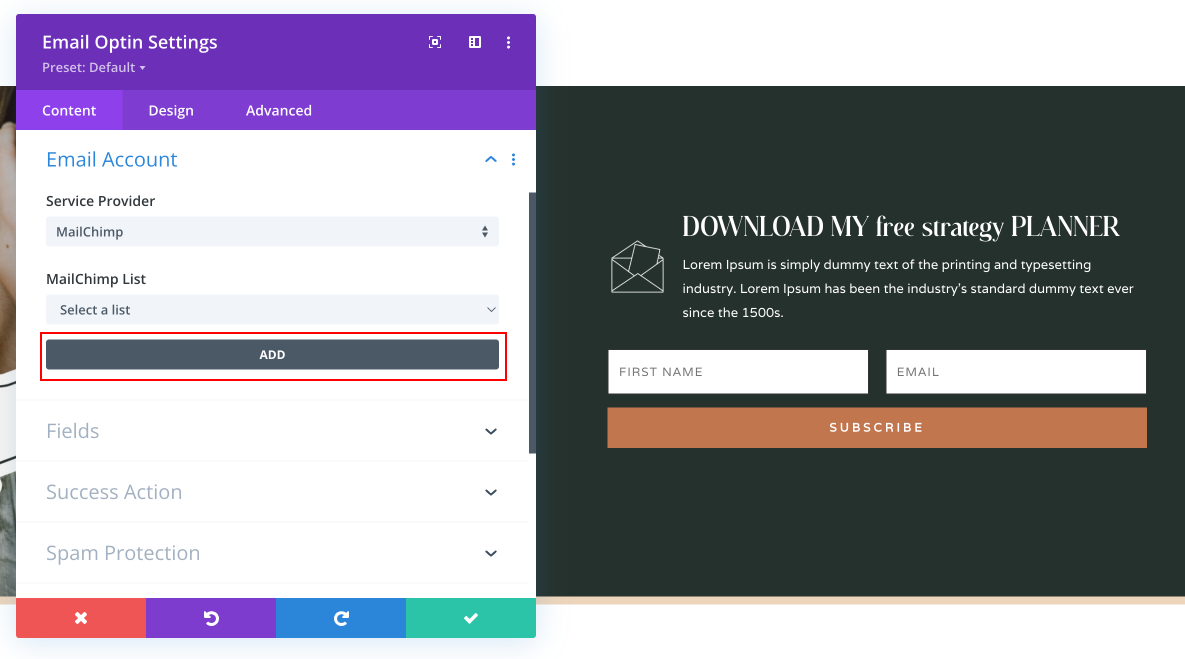
You’ll need to connect your account with your email service provider to Divi. Click the Add button.
This shows a list of the information you’ll need for this specific email provider. There are differences between the service providers, so you’ll need to see what information you need first. You’ll get this information from your provider, enter it into these fields, and click Submit.
The example below shows the list for MailChimp. This email provider needs the Account Name, API Key, API URL, and Form ID.
In your Mailchimp account, click your profile and select “Profile”.
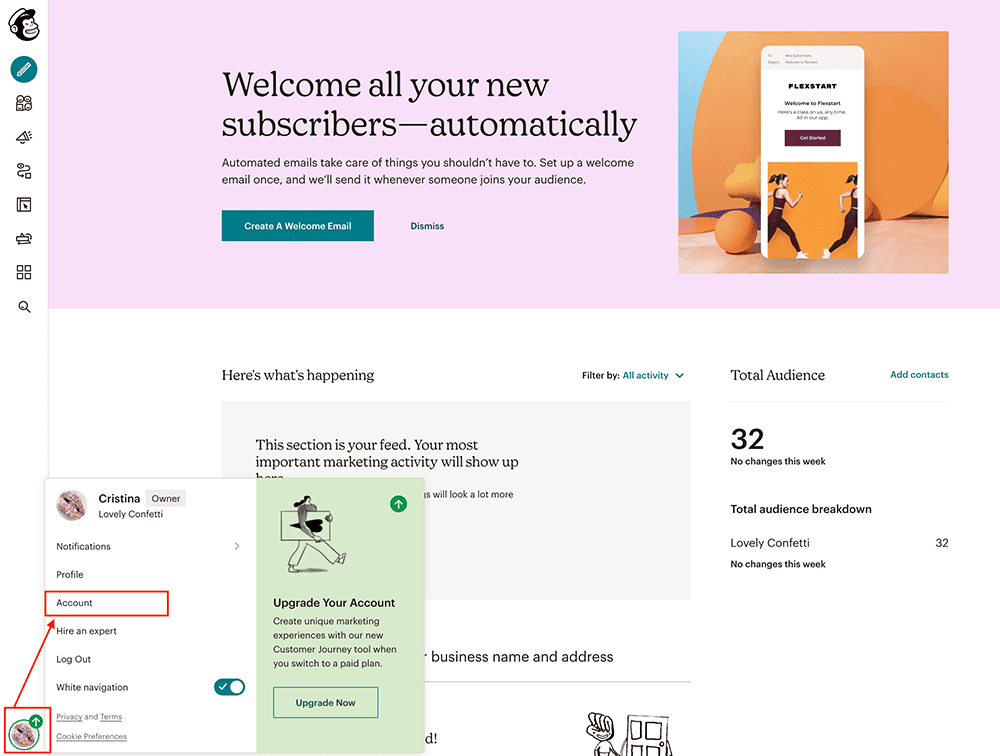
After logging in your MailChimp account, clicK “Extras” and select “API Keys“. 
Click the Create A Key button to create a new API key. Once the API key is created, copy the API key on the API key column. 
Select a MailChimp list from the dropdown menu on the list section. Save changes.

By default, the Email Optin module comes with 3 fields ( First Name, Last Name and Email ). You can remove the unnecessary fields checking Fields.
