Step 1 : Create o select your Top Menu
- Login to the WordPress Dashboard.
- From the ‘Appearance’ menu on the left-hand side of the Dashboard, select the ‘Menus’ option to bring up the Menu Editor.
- Select Create a new or select your Menu at the top of the page.
- Drag your pages to Menu.
- Select Secondary Menu.
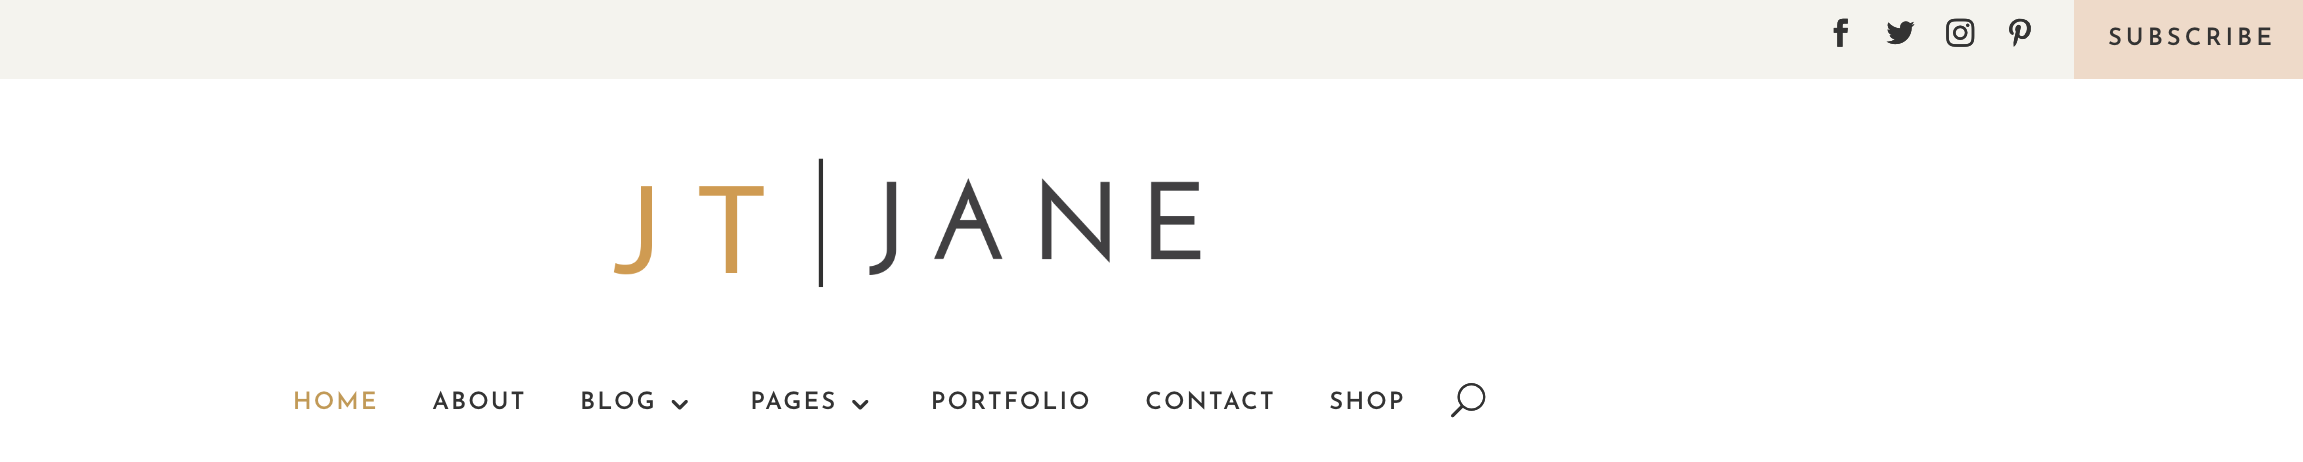
Step 2 : Add your Button Call to Action
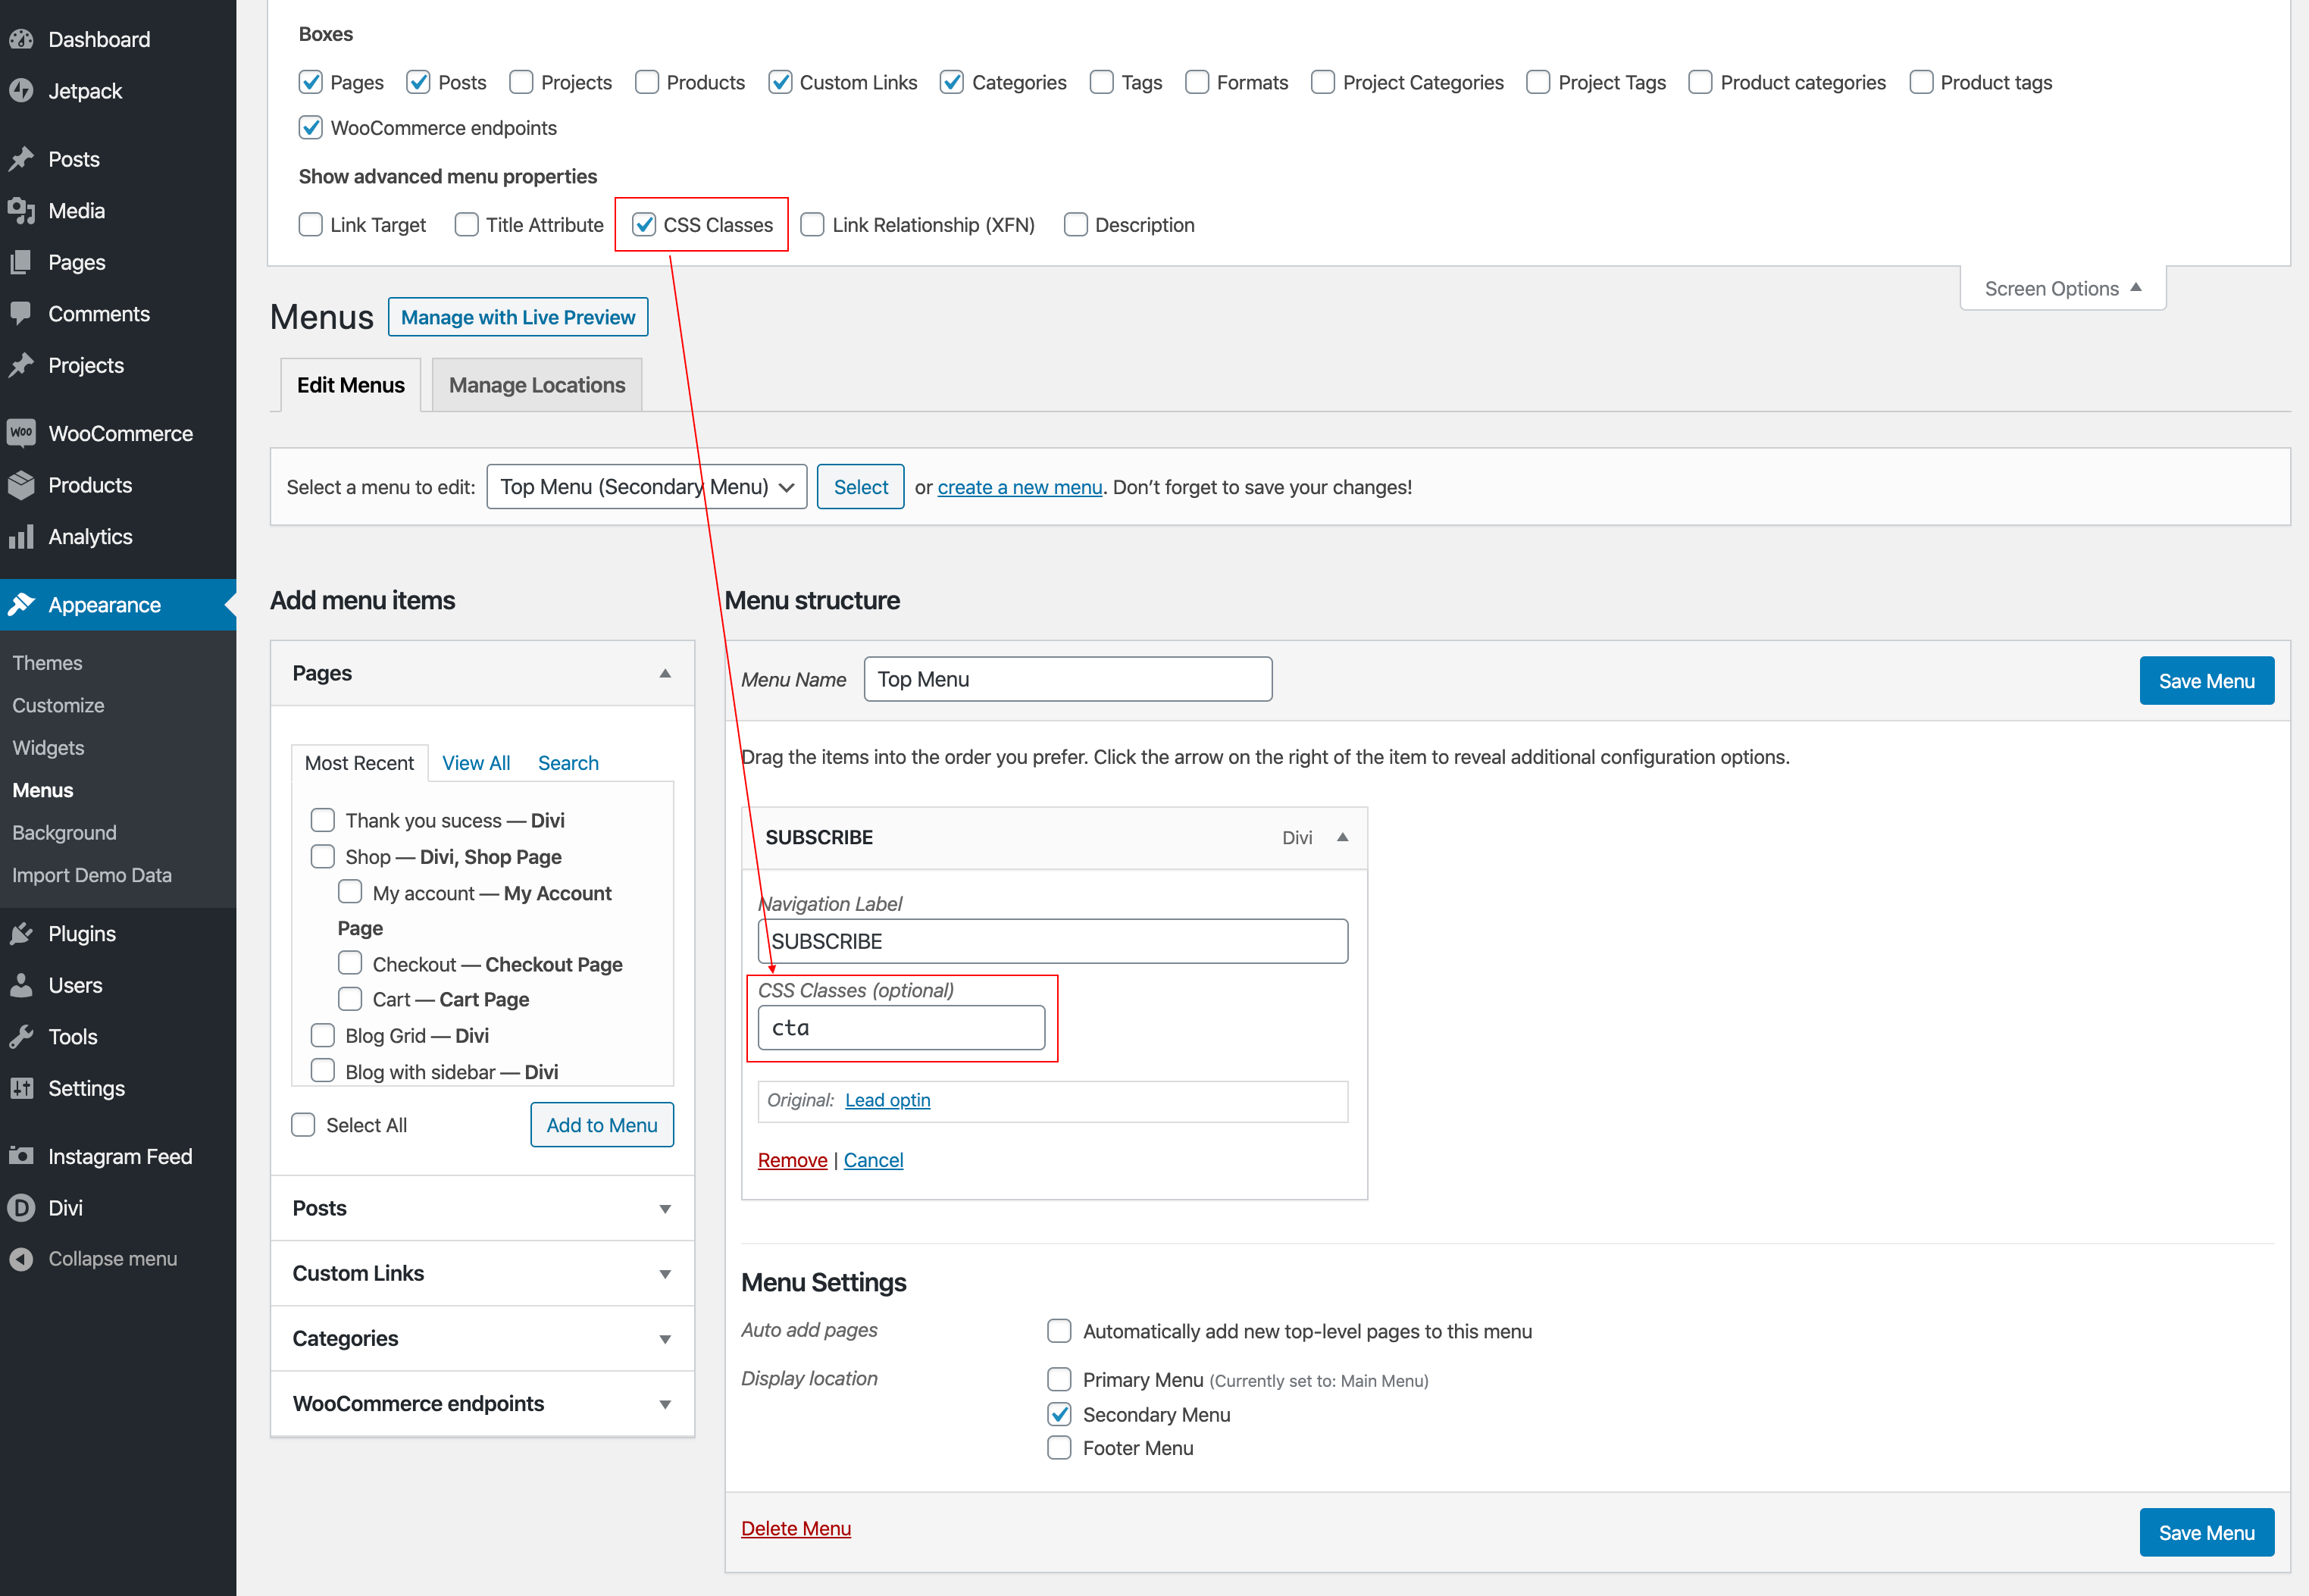
- Click on the Screen Options link in the top right corner of the menu admin screen.
- Check the “CSS Classes” option.
- Locate the menu item that you want to customize.
- Add custom class name to your menu item: cta
Step 3 : Add Social Icons and Email
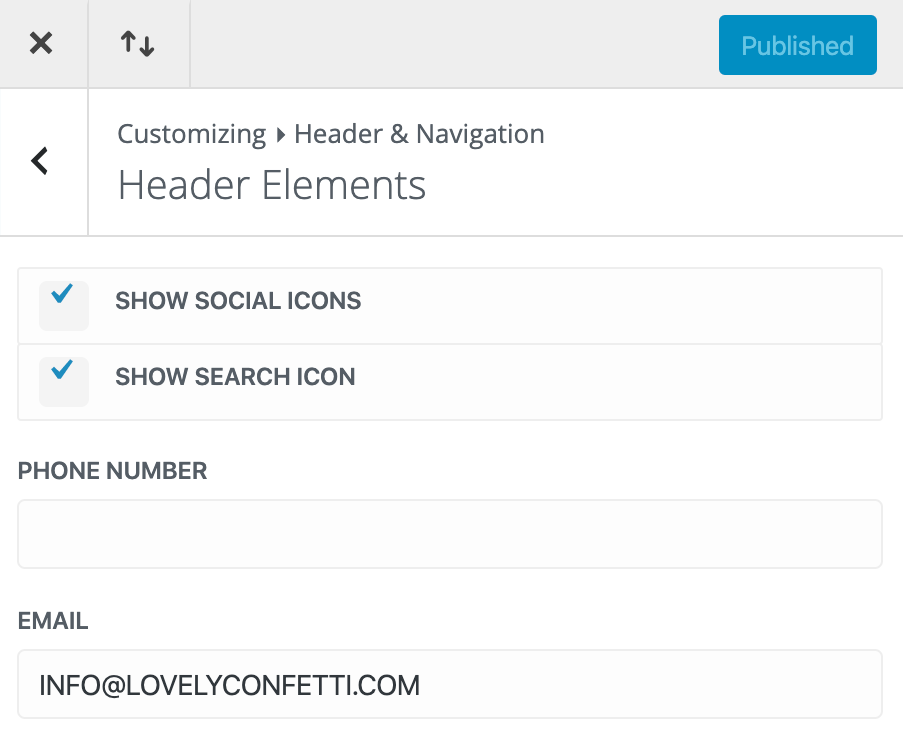
- Go to Divi > Theme Customizer > Select Header & Navigation > Header Elements.
- Under Header Elements, make sure the option to show social icons is checked and enter a an email address in the text box.
- Take a look at: How to add social links.
Under Header Elements, make sure the option to show social icons is checked and enter a an email address in the two text boxes.
Step 4 : Customize
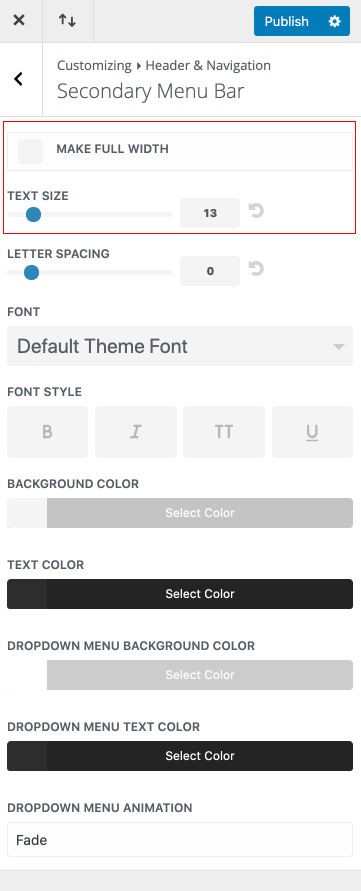
- Go to Divi > Theme Customizer > Secondary Menu Bar.
- You can customize, font size, make full width, change font, colors,…
Need Further Tutorials?
How to Setup Menus: https://codex.wordpress.org/WordPress_Menu_User_Guide
Divi Builder overiew: https://www.elegantthemes.com/documentation/divi/visual-builder/