PLEASE NOTE: While this theme is pre-styled to work with WooCommerce, I offer no support for the plugin itself beyond the installation instructions above since it wasn’t developed by me. Should you need further support for WooCommerce please visit here.
Step 1: Install and Activate the WooCommerce Plugin
This first step is also the most basic. Simply install and activate WooCommerce just as you would for any other plugin.
Step 2: Add Your Store’s Basic Information
The first thing you’ll see after activating the WooCommerce plugin is the setup wizard.
WooCommerce needs to create a few default pages for your store to function properly. These are:
- Shop
- Cart
- Checkout
- My Account
Let’s see how to create these pages with the Setup Wizard.
Click Let’s Go! button to go to the Page Setup.
This will help you set up your site in a few simple steps. It’s worth noting that any settings you configure here can easily be changed later.
Where is your store based?
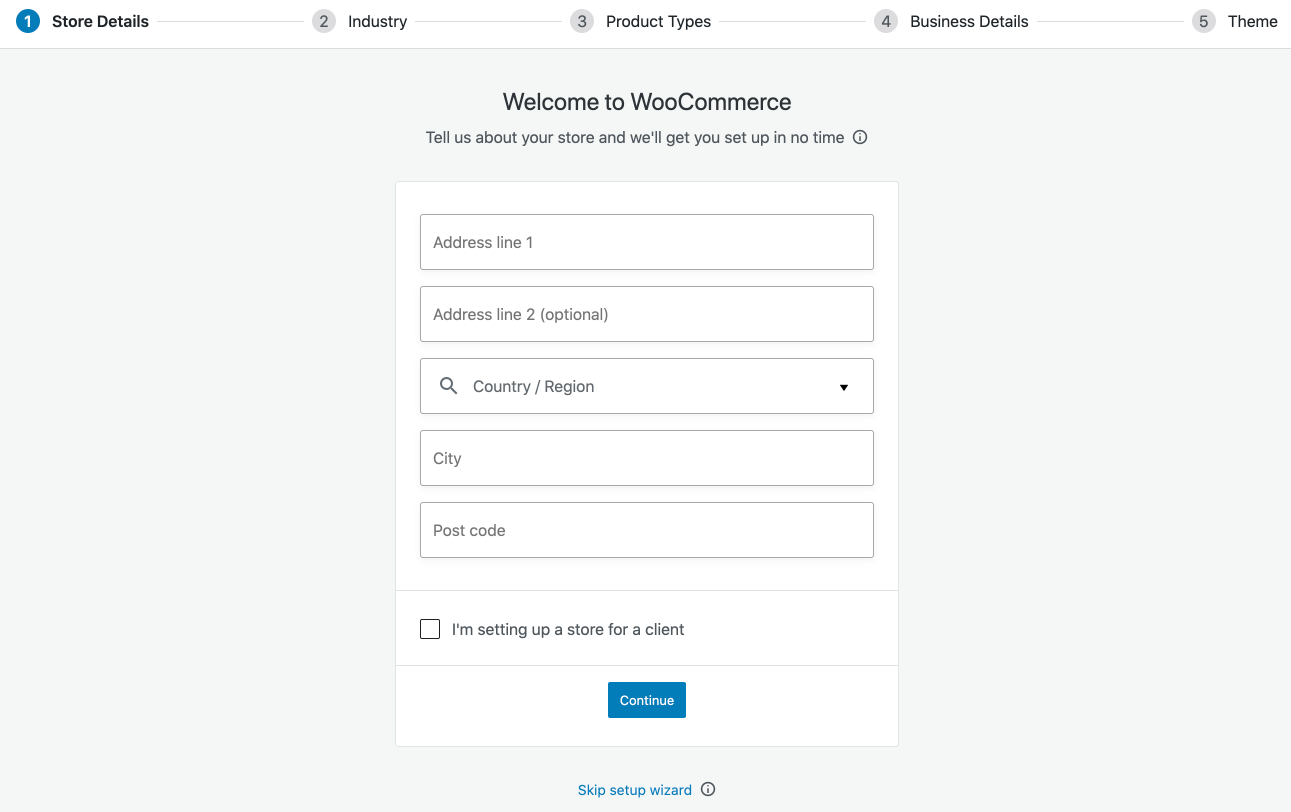
In this step you provide the location of your store and if you’re setting up a store for a client.
In which industry does the store operate?
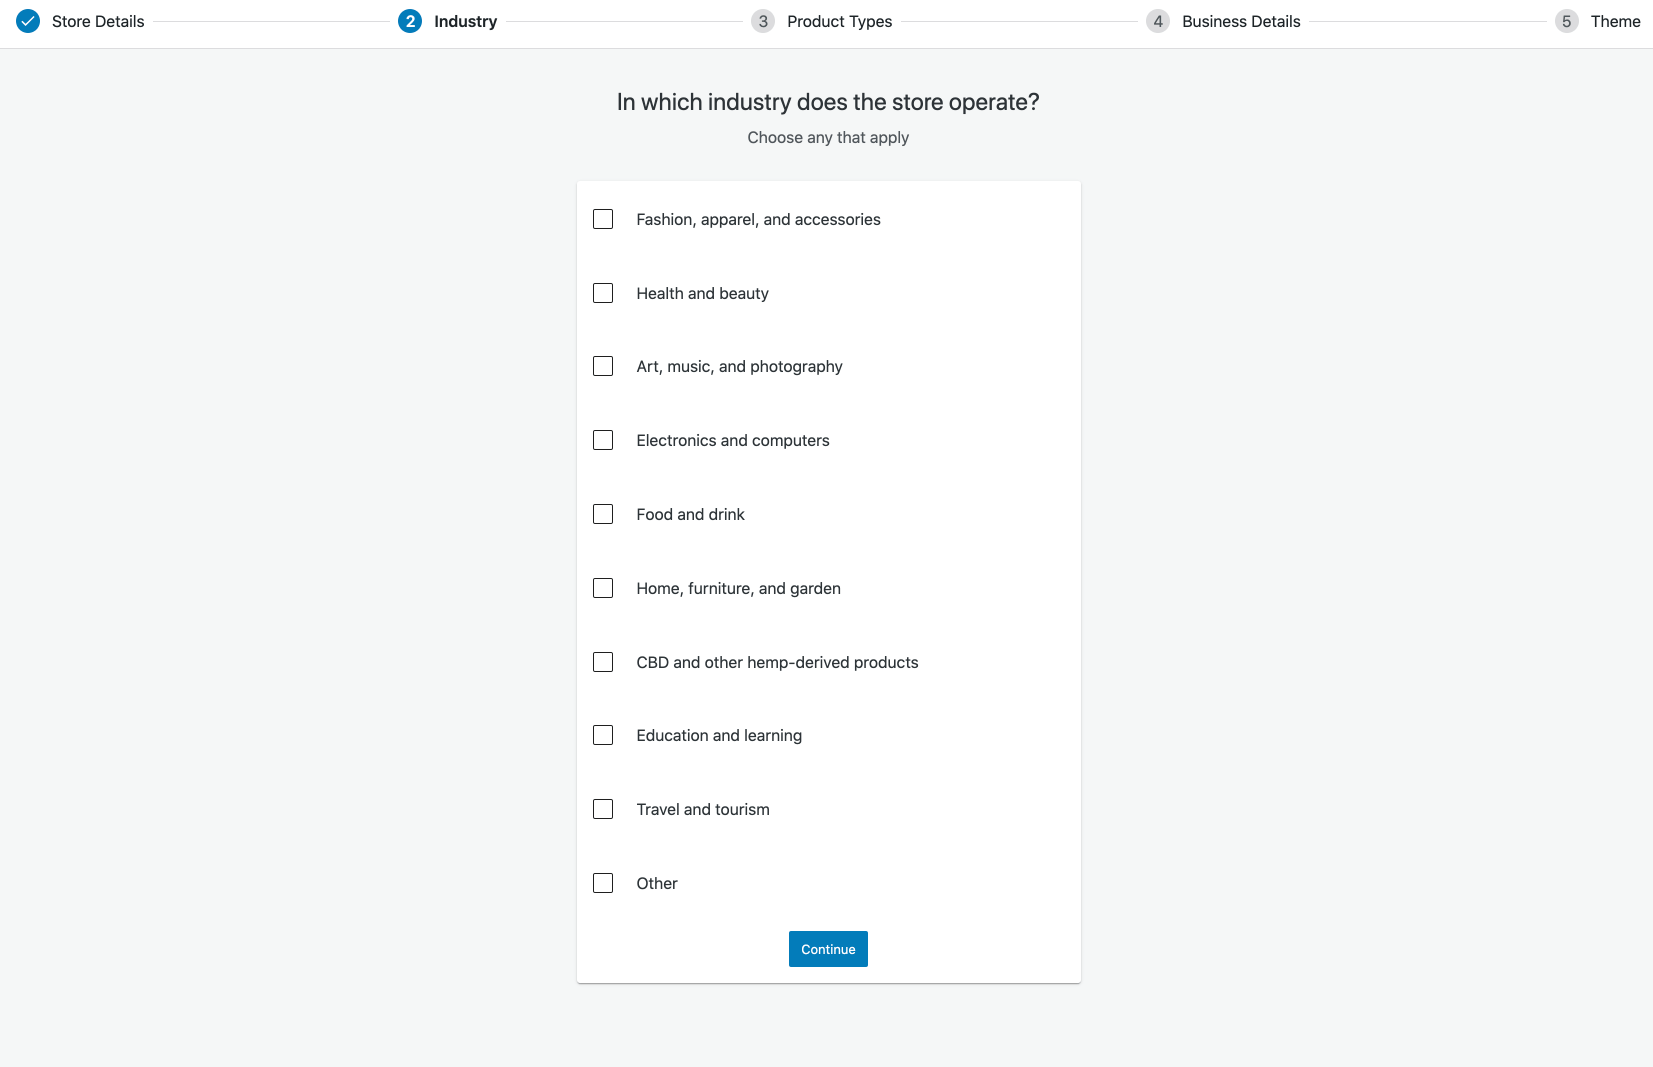
Here, you can select in which industry or industries your store operates. If you select “Other” you’re able to identify a different industry.
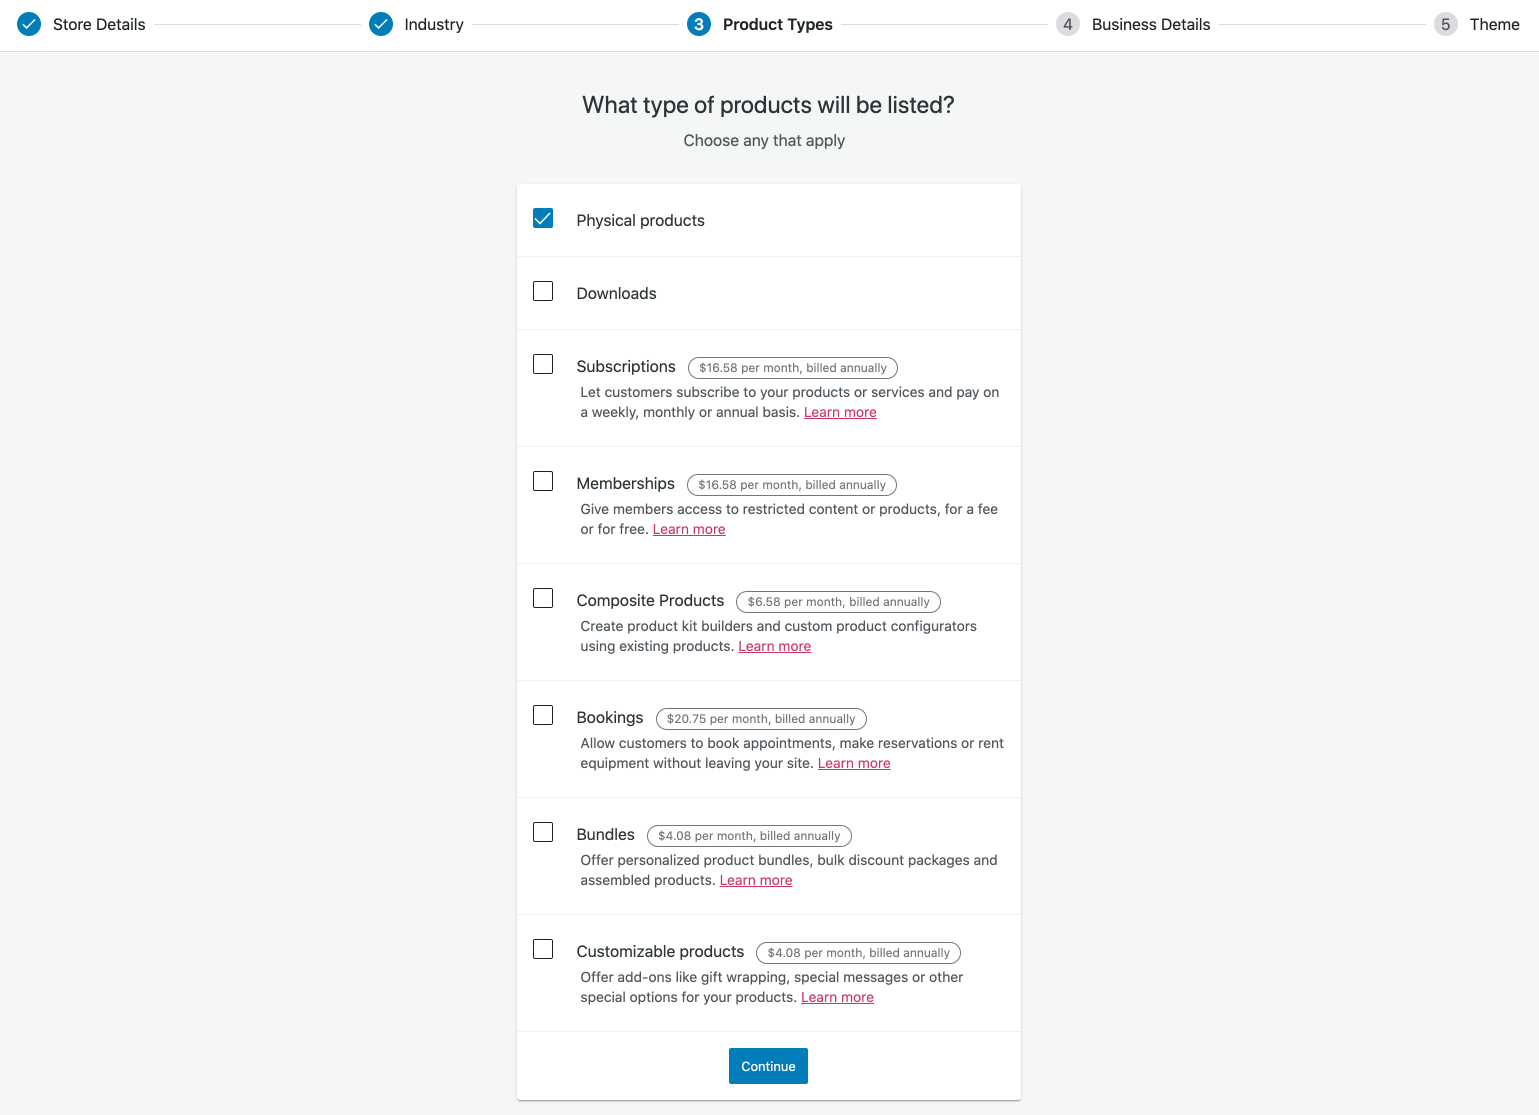
What type of products will be listed?
You’re able to identify which product types you plan to sell in your store and learn more about some types of products, such as Memberships or Subscriptions. If you choose a paid product you can easily purchase it later in the wizard.
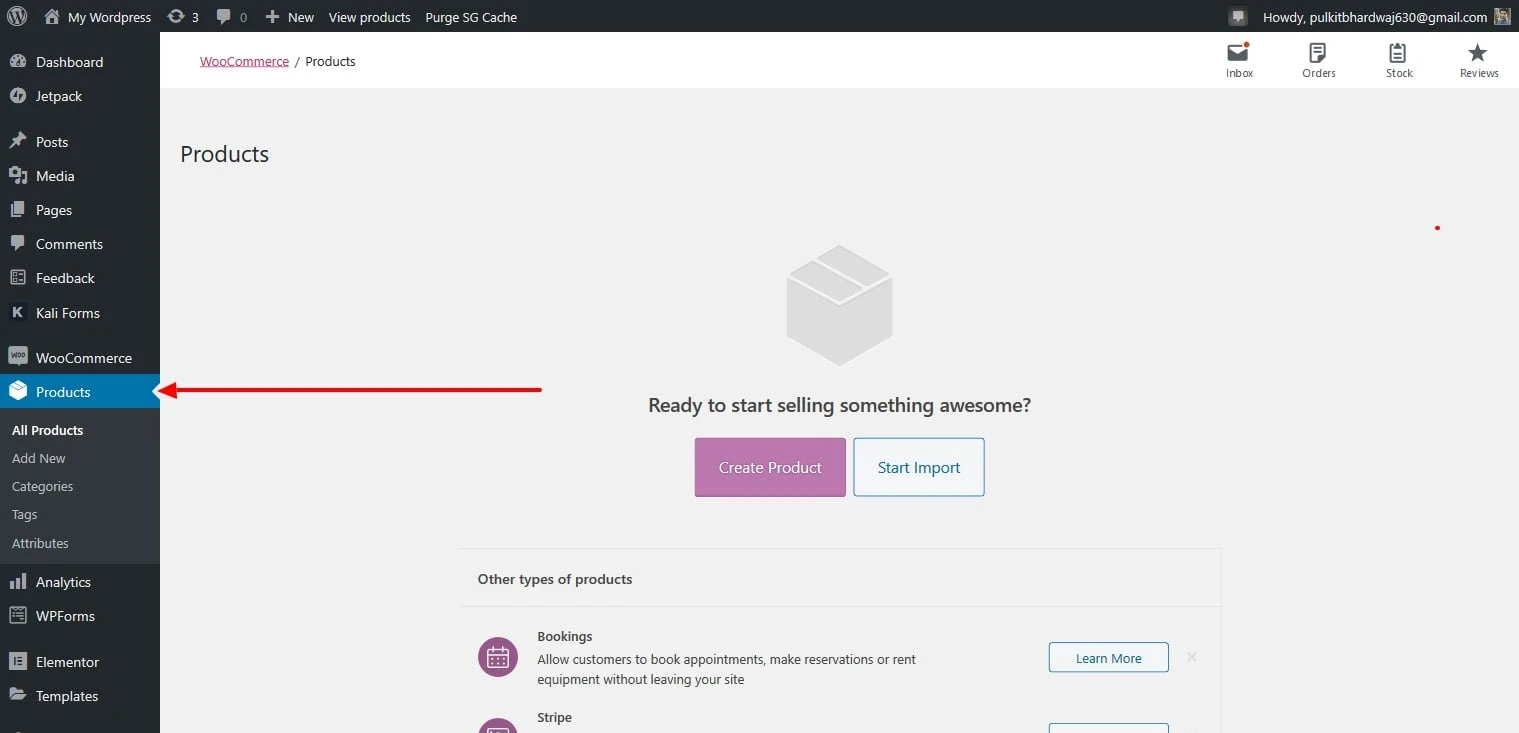
Step 4: Adding Your First Product in WooCommerce
You have to add your own products or import demo products.
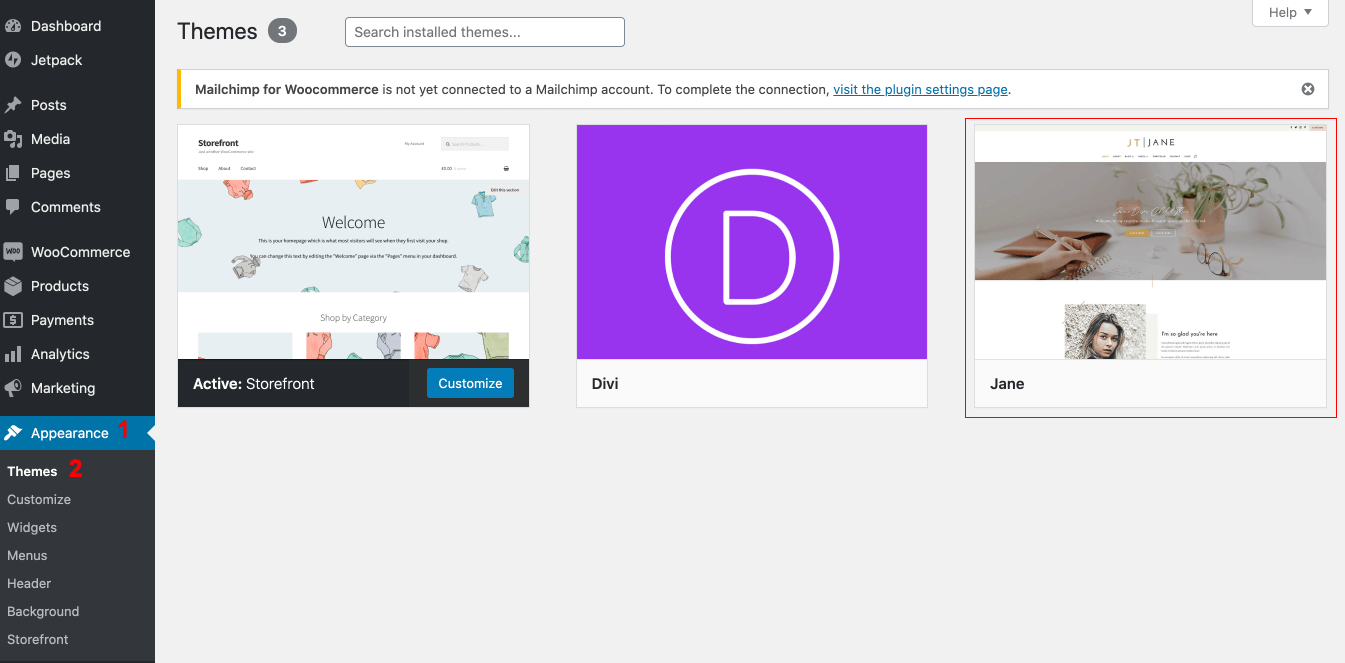
Go to Appearance > Import Data Demo, and click on the Import Demo Data button.
Note: This may take even several minutes, depending on internet connection speed. Please be patient.
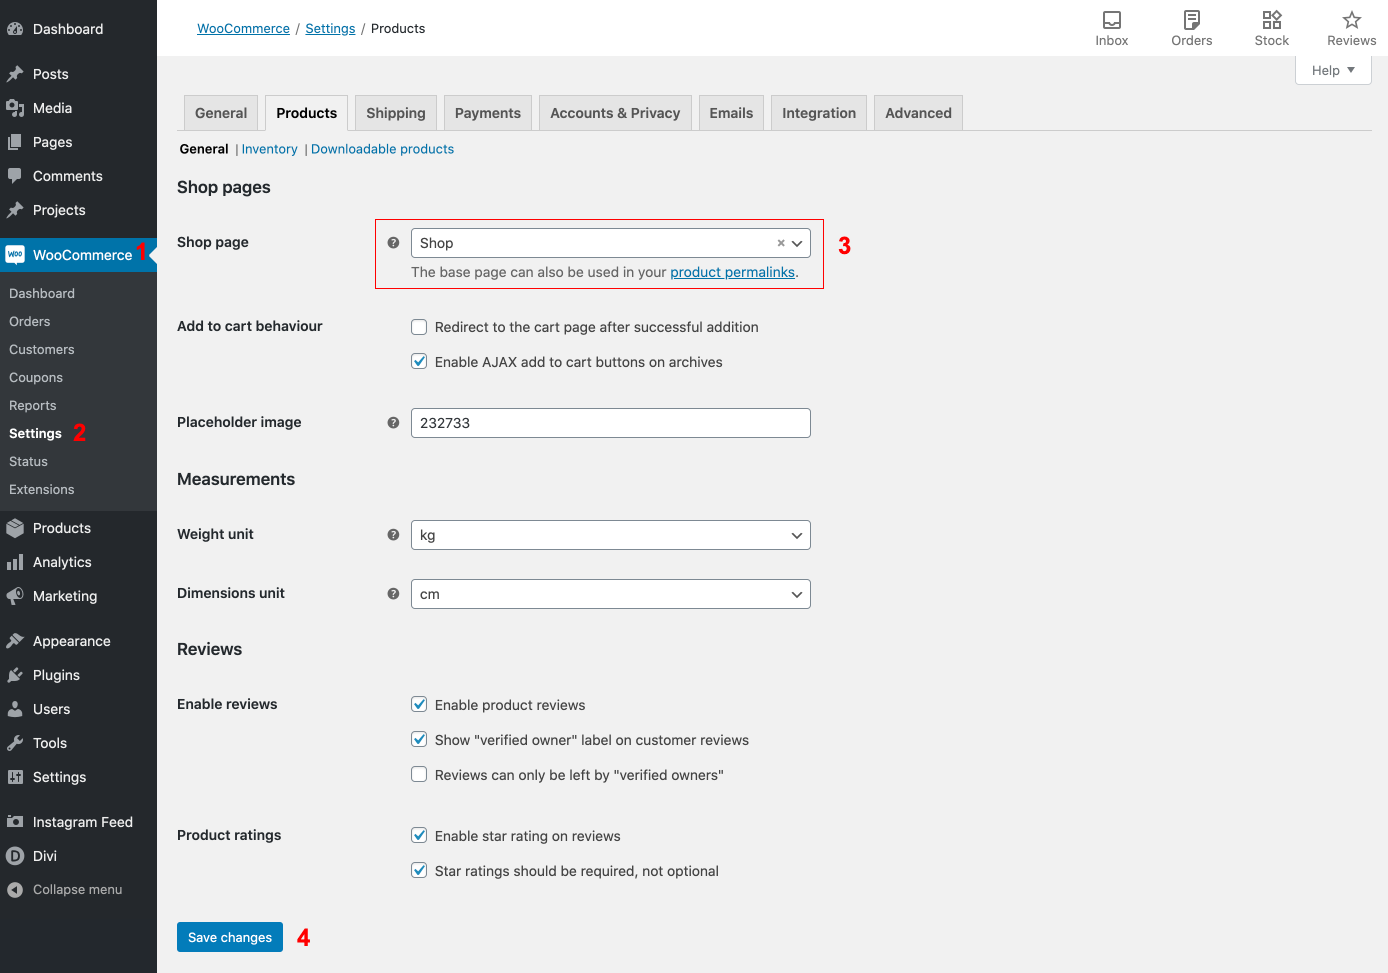
Step 5: Asign your shop page
Navigate to WooCommerce > Settings > Select your shop page.
Step 6: Asign Product Image size
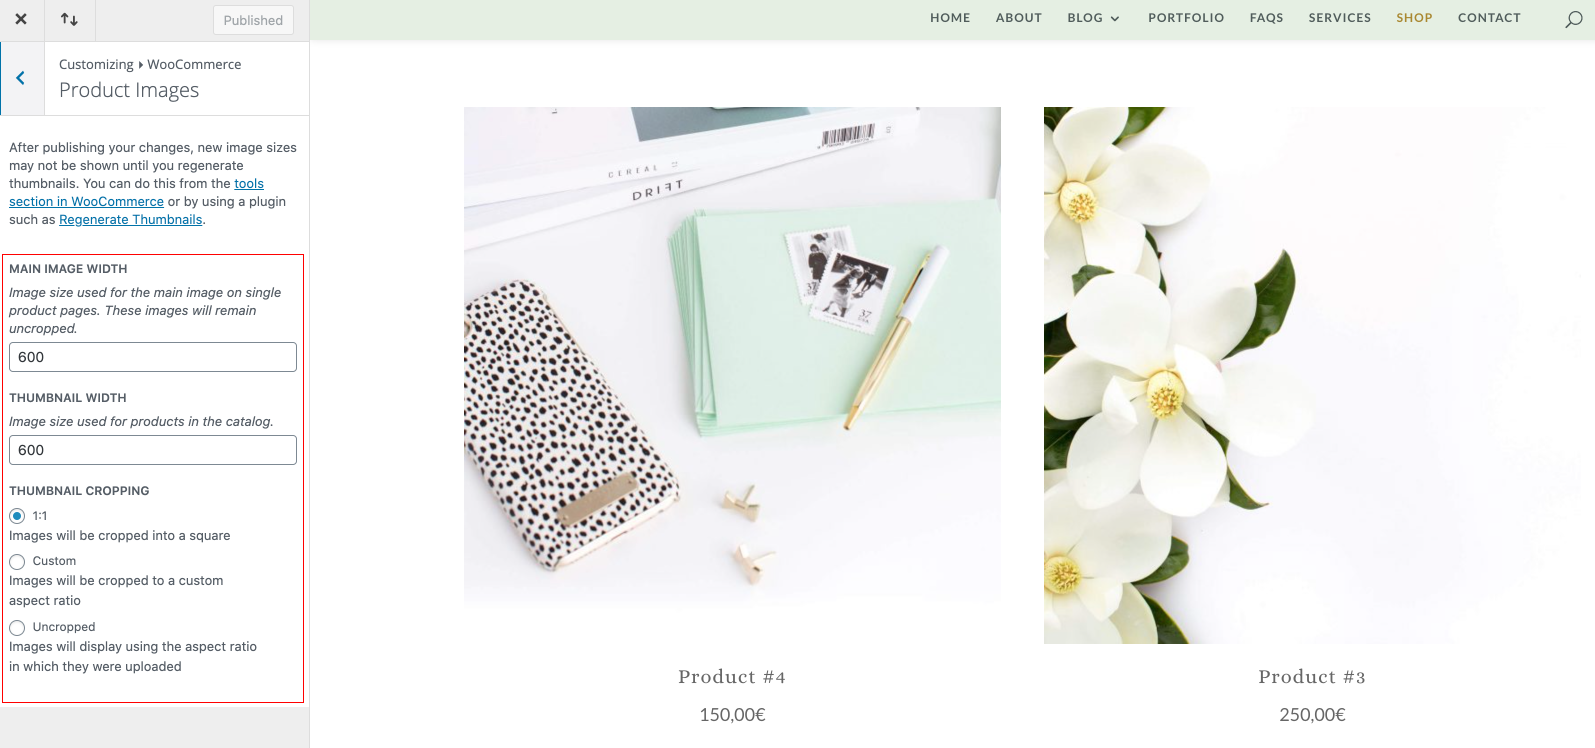
Go to Appearance > WooCommerce > Product Images > Assign image size (recommended image size 600 px)